Pin this on Pinterest! Click Here!
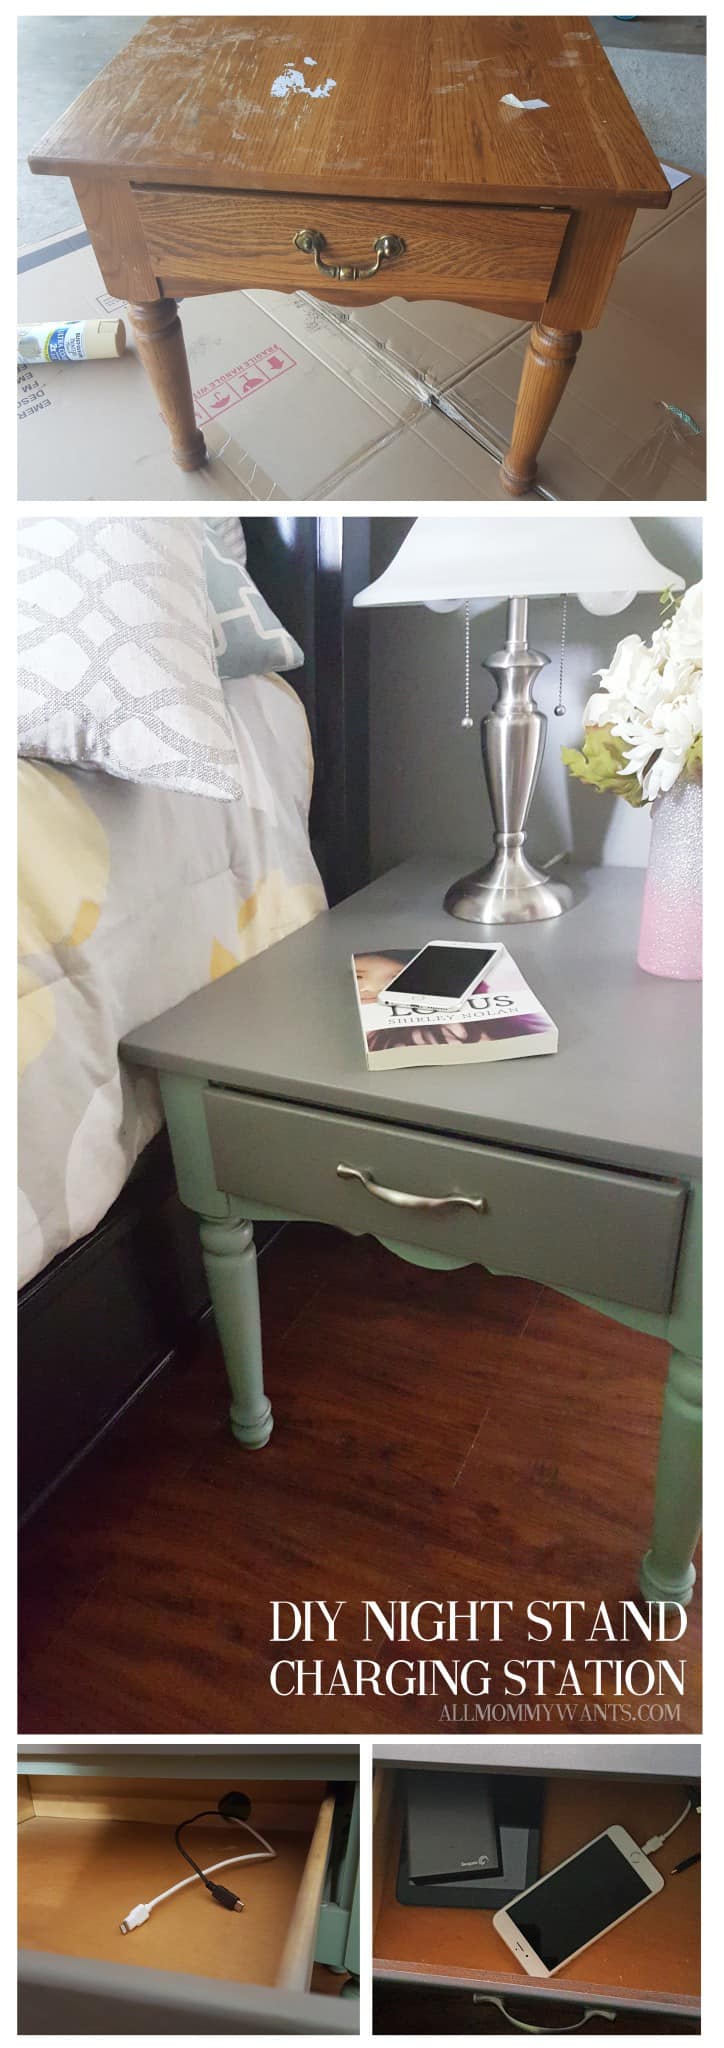
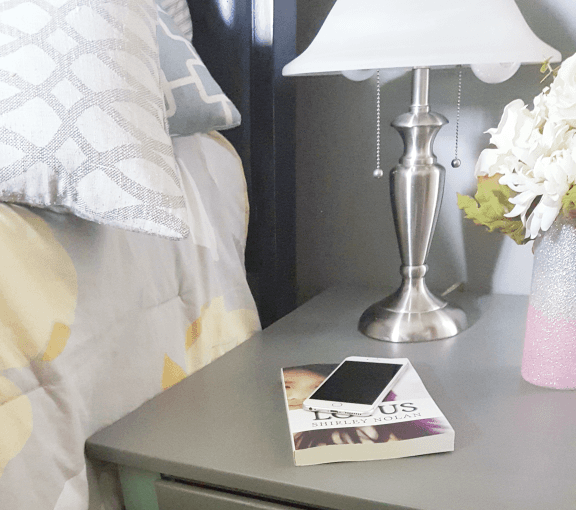
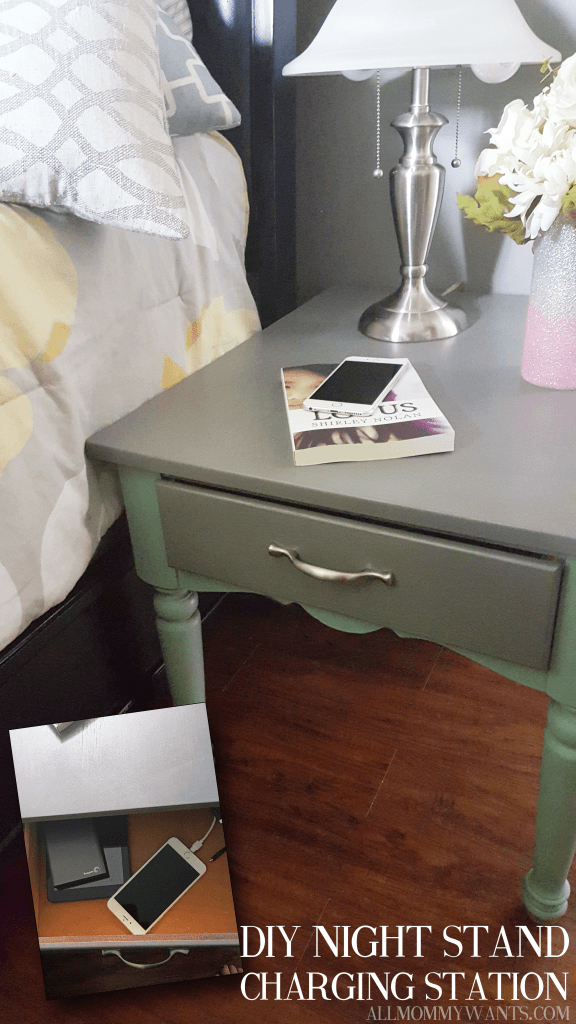
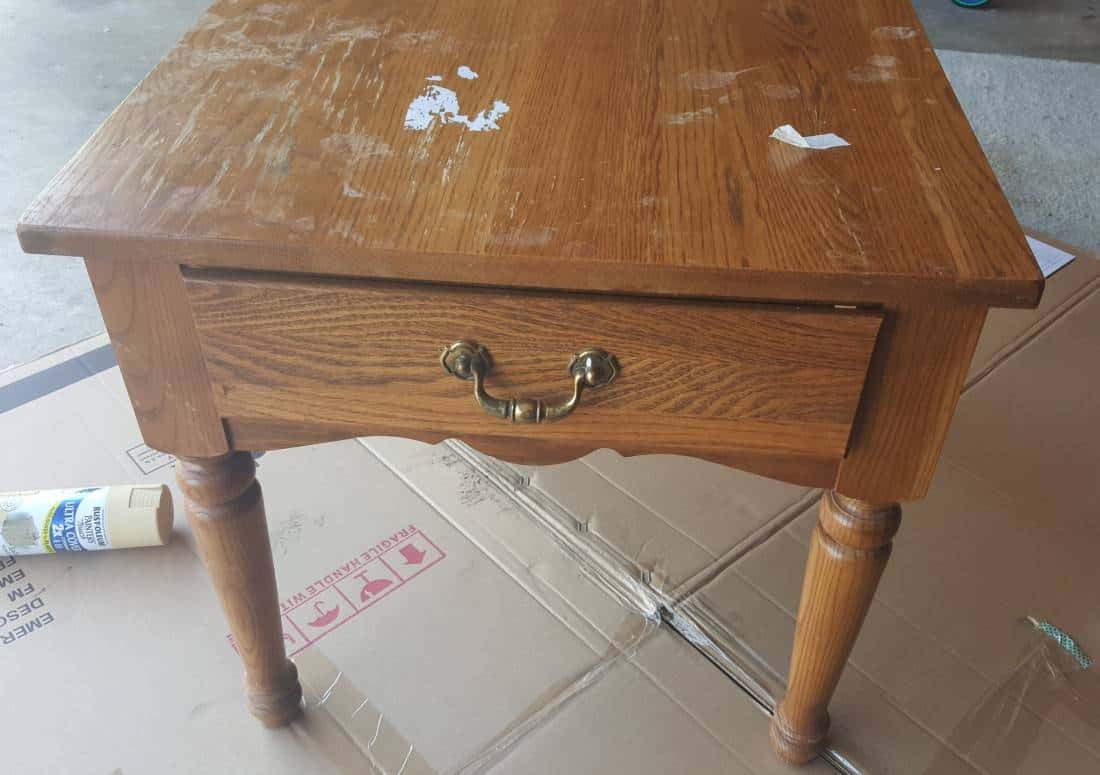
I am so happy with the way this table turned out! I had been looking for a nightstand that I could refinish and add some functionality, so when I found this wood table at Goodwill for a mere $2.99 (marked down 3 times!) I knew it would be perfect. I am going to show you exactly how I did it and what materials I used.
- Krylon Spray Paint in Catalina Mist, Satin
- Krylon Spray Paint in Stone Gray, Satin
- Gray or white primer spray paint
- Satin Clear Polyurethane Spray Paint
- Sand paper or sander (I love my Ryobi sander!)
- New hardware – I found my handle at Ace Hardware for $2.49
- Table or cabinet that is solid wood (make sure it’s not veneer, it won’t look as nice!)
- Wood hole drill bit and electric drill. The bit should make a hole big enough to feed power cords through (about an inch in diameter works)
First and foremost – use appropriate protection and spray in a well-ventilated area, like an open garage or back yard. A painters mask will help with the fumes and protective goggles will keep wood particles out of your eyes.
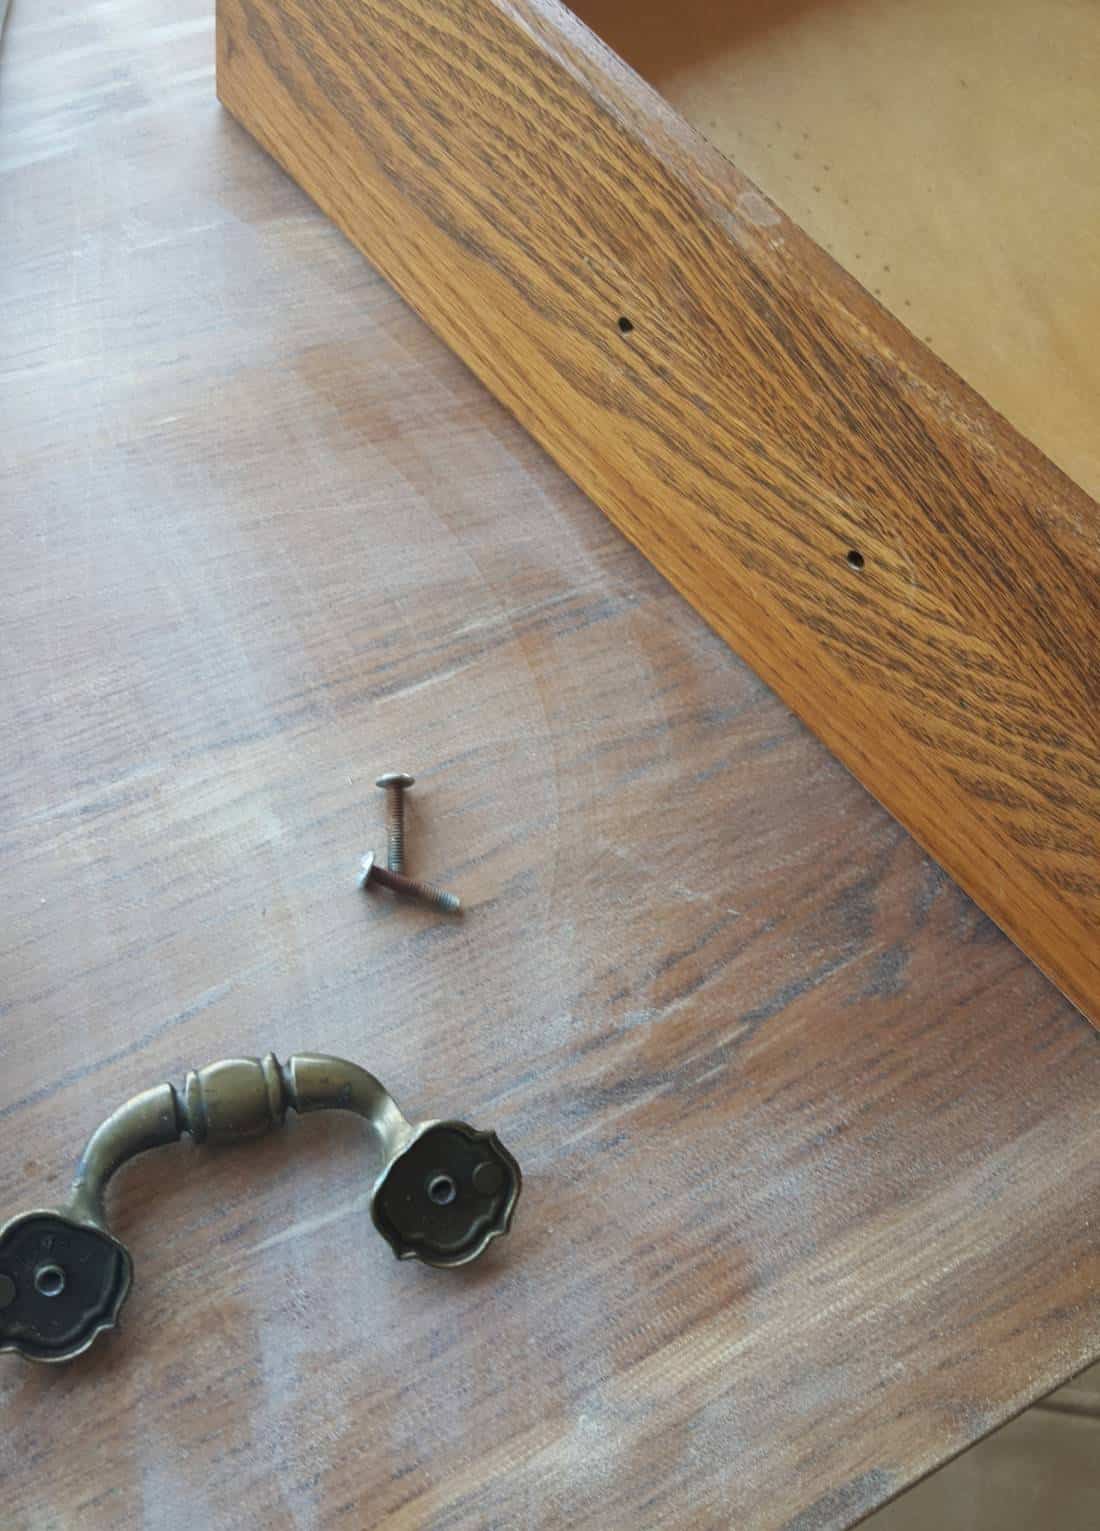
Start by removing old hardware from any drawers and sand the wood enough to rough up the surface and smooth any bumps. Spray the entire piece with primer and let dry about 15 minutes. Check the size of your new drawer pull and drill new hols if needed (most are standard size!)
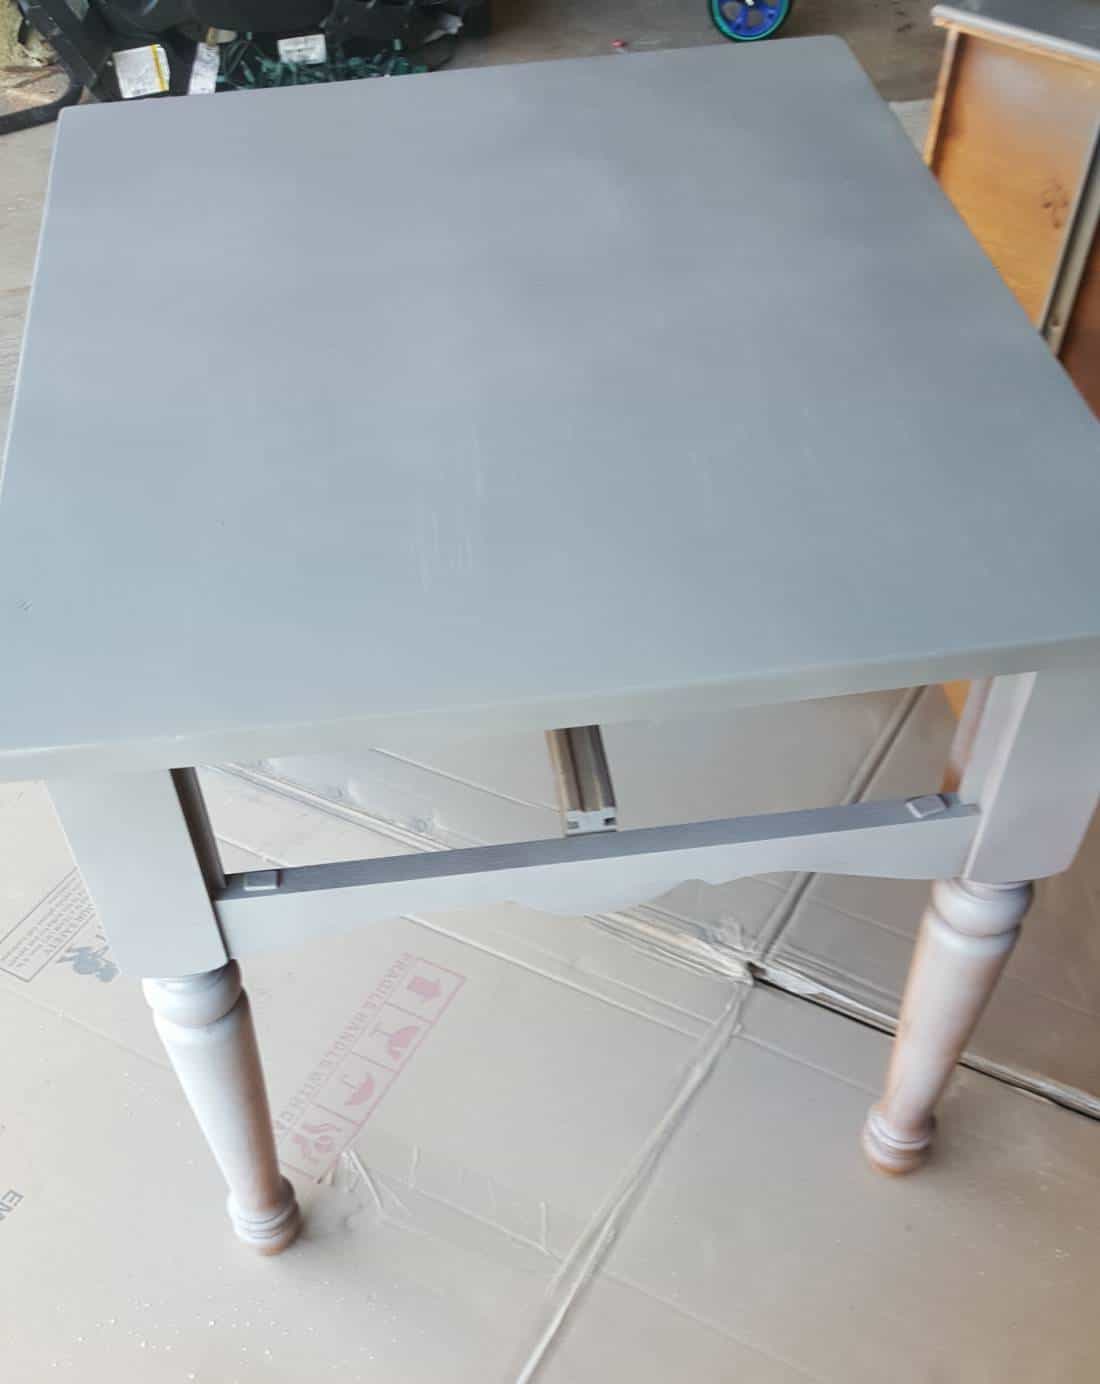
Spray legs and sides in color #1 (Catalina Mist), let dry for 20 minutes, and give a second coat. Let dry until not tacky to the touch.
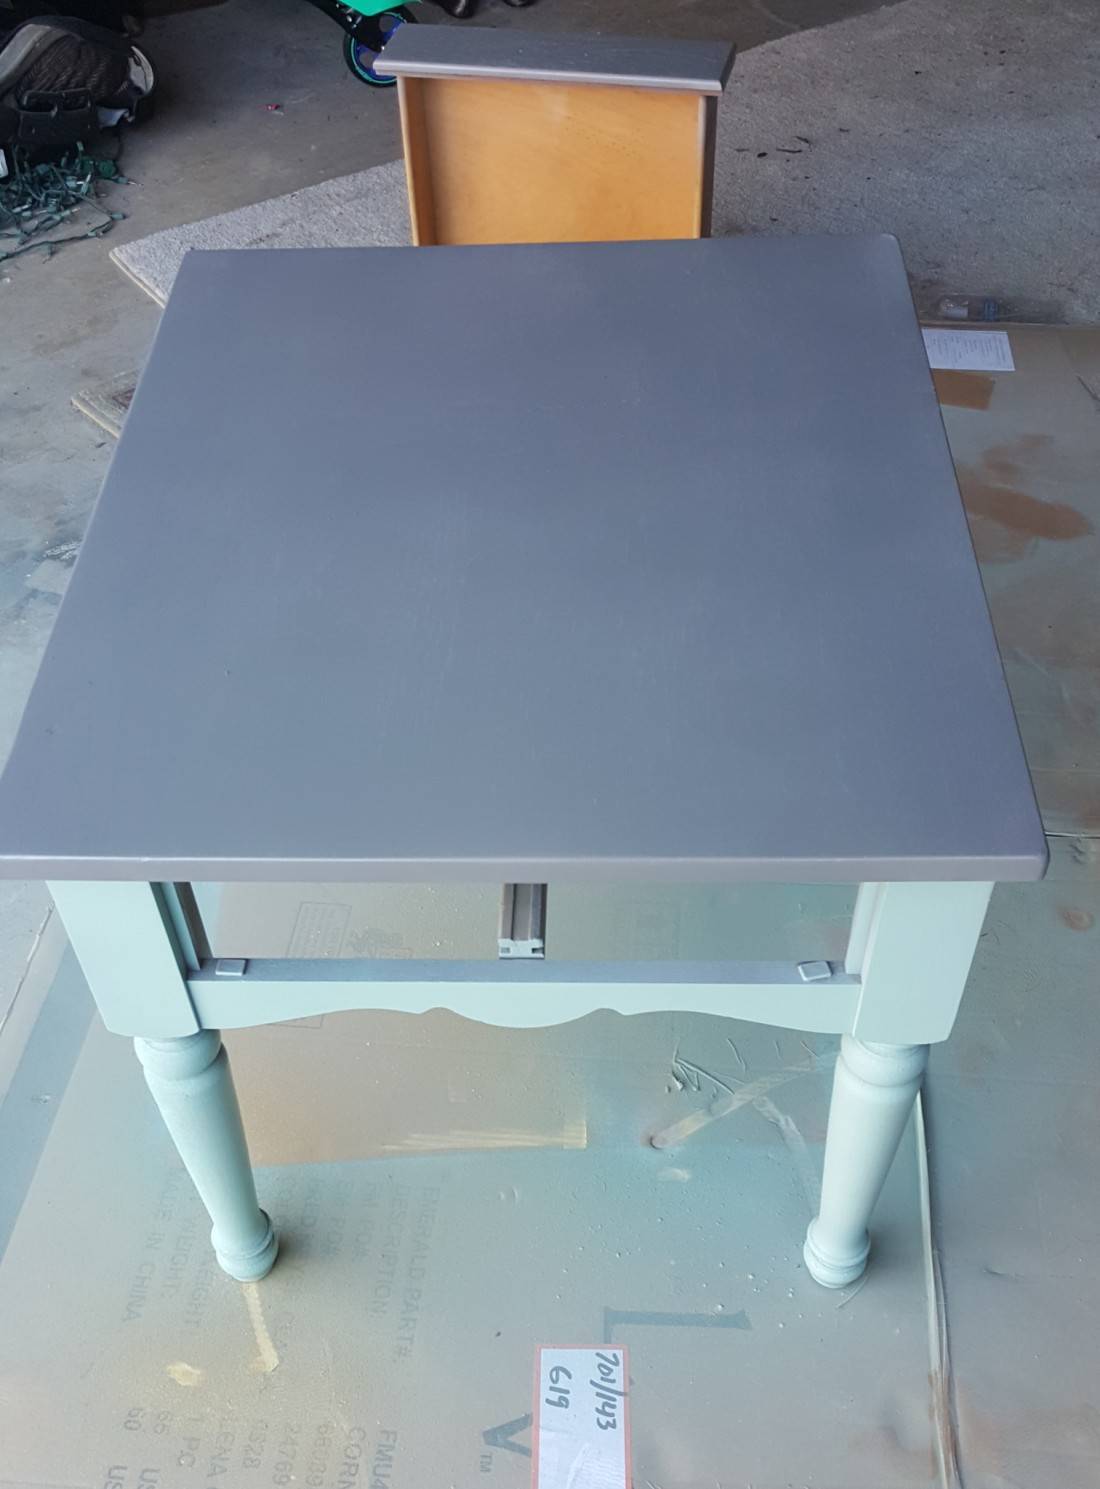
Spray the table top and drawer front in gray (or color #2), let dry for 20 minutes, and spray with a second coat. The top may need a 3rd coat! I used a large piece of cardboard to keep the gray from spraying onto the sides but you can also use painters tape to protect those areas. Spray entire piece with clear polyurethane and let dry overnight.
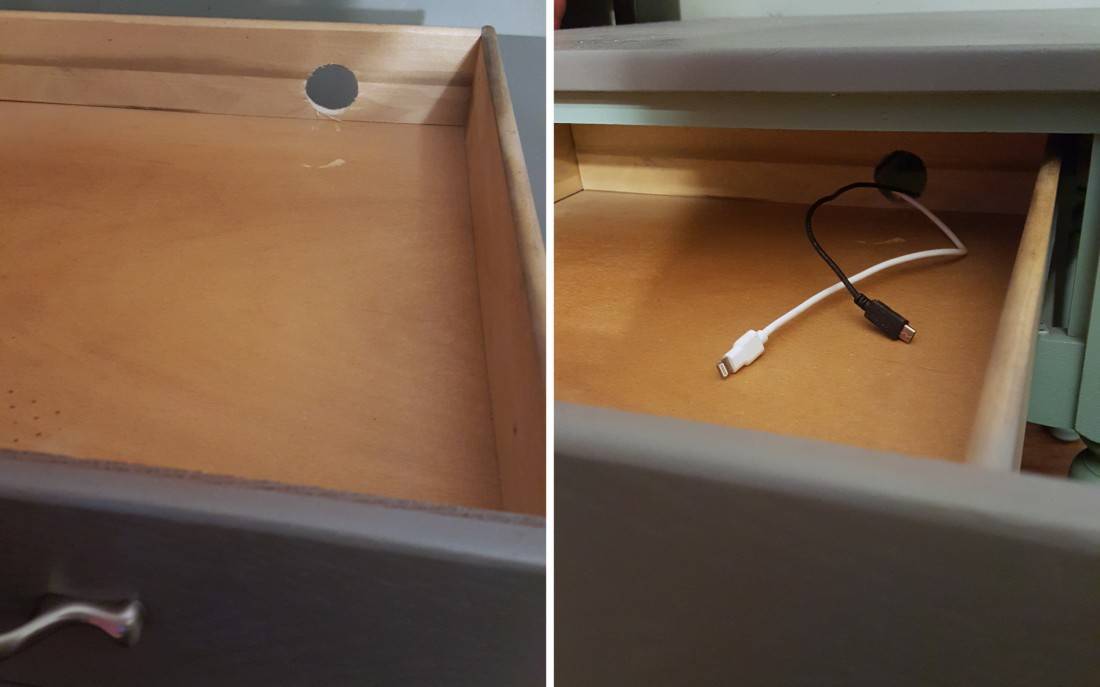
Using the wood hole drill bit drill a hole into the back of the drawer for the cords to feed through.
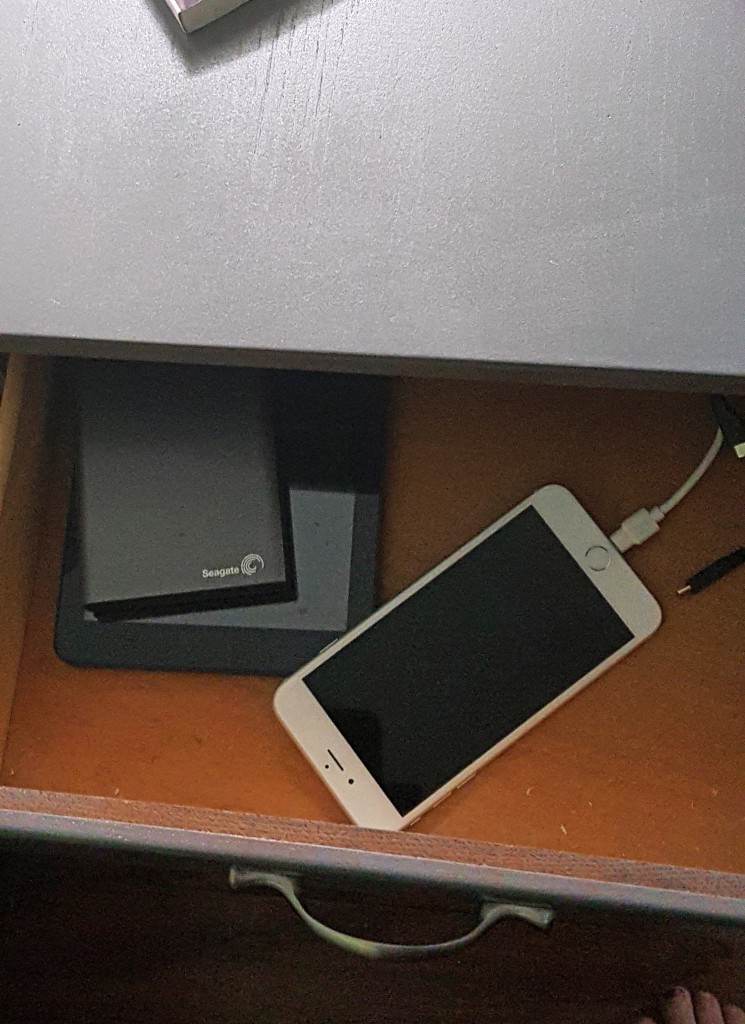
Once the entire piece is dry and drilled add your new drawer pull to the front. Move to the area you want the table at and feed the charging cords through the back, securing with a little duct tape if needed.
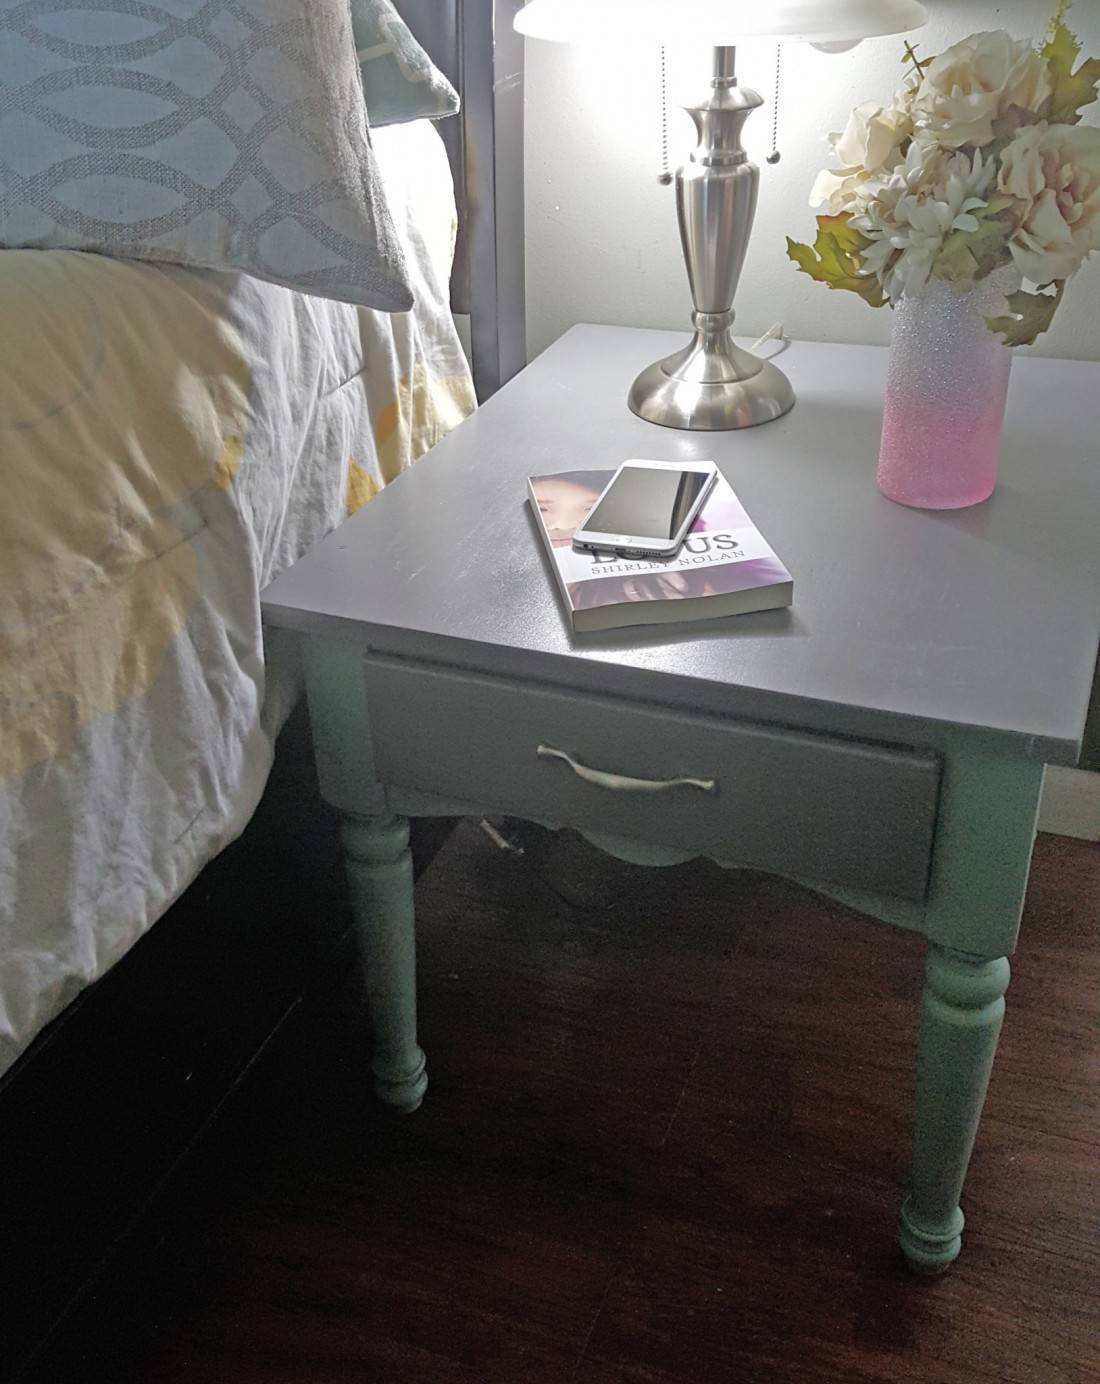
Enjoy your lovely new table!
Pin this on Pinterest! Click Here!
